Transcript:
Intro
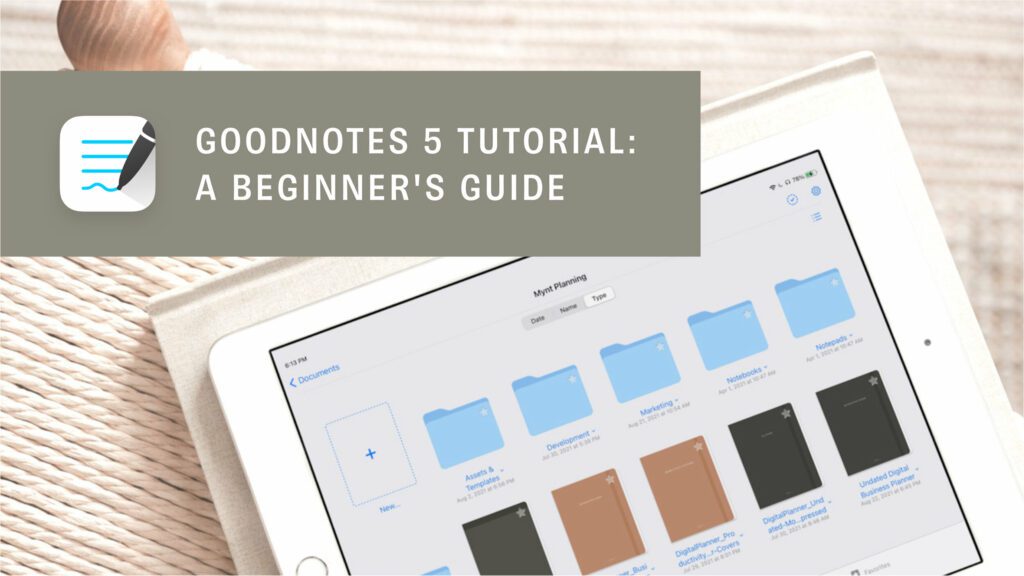
Whether you’re using this app for your digital planner, general note-taking, or PDF annotation, this tutorial will walk you through how to use GoodNotes 5 on the iPad.
Navigating Documents
When you open the app for the first time, it will bring you to this top-level Documents screen. After using the app a few times, it will open up to the most recent location you were in.
You have four main areas in the bottom navigation, Documents, Search, Shared, and Favorites.
The Documents area is where you can navigate all your folders and documents and you have a few options for viewing this area. You can view by thumbnail or list. You can also sort by Date, Name, or Type.
The next area is Search where you can type the information you’re looking for whether it’s handwritten or text.
Then we have Shared. In GoodNotes 5, you can collaborate on a document with another person just like in Google Docs. You just share the link with them and all your shared documents are easily accessible in this area.
In Favorites, you can quickly access any documents or pages within documents that you have bookmarked or starred right from here.
In the top right of both the documents and the shared area, there is a dotted circle with a checkmark. Tapping that will give you the option to export, duplicate, move, or delete multiple documents and folders at a time.
In all four of the bottom navigation areas, you can find a Gear icon in the top right giving you access to miscellaneous app options like Notebook Templates, Settings, and the the trash bin, in case you accidentally delete something, and need to go back and restore it.
Let’s start with Settings. In this section, you can set up your handwriting language so that the app can recognize your handwriting for search. Under Document Editing you can customize quite a few things. I suggest leaving the default settings for now, and you can always go back and play around with them once you’re more comfortable in the app.
The next setting is Stylus & Palm Rejection where you can set up what stylus you’re using, and the palm rejection sensitivity and writing posture.
Writing posture is especially helpful if you’re left handed or tend to write at a unique angle.
Make sure your notes are synced in the cloud with the next setting the iCloud. This will give you easy access across devices if you plan on getting the desktop or the phone app.
Email to GoodNotes is a cool idea where you can send or forward emails with PDF attachments directly into GoodNotes. I haven’t used it much, but if you wanna try it out you can set that up here.
The next two options are for backing up your notes. You can use the Backup Data option to manually create backups or just toggle on the Automatic Backup option. The automatic backup doesn’t use iCloud, Apple’s cloud storage solution, which is what I use. So I like to do manual backups so that I can save them to iCloud.
The search indexing I would keep on so that when you search for something it will look at text and handwriting to give you accurate results regardless of the format.
Okay, let’s go back to Notebook templates, above settings. This is where you can manage your Notebook templates. There’s another menu that looks similar to this when you tap on New, but it’s just to use the templates, to manage them you go here.
At the top of the Notebook Templates pop-up menu you can select the default paper template and cover for new notebooks. If you don’t like or care about covers on your documents, you can just select No Cover and the first page of that document will be what you see in the document thumbnail.
GoodNotes comes with a lot of free templates for covers and paper. And there are various size, layout, and color options built directly into the app. To navigate your templates start with the two dropdown menus. Which I like to think of as filters, where you choose your parameters, and the results fitting those parameters will show up in the space below. You can filter by template size and color options in the left dropdown menu. choose from white, dark mode, and yellow for the color, and then navigate by paper sizes like A5, A4, Letter, and so on. To filter by paper orientation, tap on the right dropdown menu.
The Results section so to speak, is organized by group. The default groups we have are Essentials, Writing Papers, Planner, and Music. And in each group you can scroll, and at the end there is an option to import your own templates into that group. If these groups don’t work for you and you want to organize templates another way, you can tap on the plus icon in the top right corner and create a new group.
If you want to delete templates you know you won’t use, tap Edit, select the one you don’t want, and tap the trash icon in the top left.
Creating New Documents
Now that we’re familiar with the main screen navigation, the settings, and templates, let’s look at the New Document menu.
From the Documents area you’re going to tap New and this gives you all of the options for creating items in GoodNotes. You can use the templates we looked at earlier by selecting Notebook. The default cover and paper template we chose is what will show up unless you select cover and choose a new one, and then you can do the same thing with the paper. Once you’ve got the cover and paper you want, write a title and click Create.
The next option is folder where you can create a folder to organize all of your files. You can drag and drop files into your folders or use that select icon, the dotted circle with a checkmark, to move many files at once. Something I love about GoodNotes is that you can have folders within folders so that gives you a whole other layer of organization.
Next we have import images for importing existing images in your Photos library, scan documents which allows you to scan a document directly into GoodNotes, take a photo that will automatically add that photo to GoodNotes.
Import an existing file which is where you will go to import anything you purchased from our shop or downloaded from our Freebie, or create a Quick Note which quickly creates a notebook with your default paper template that you set in the Gear icon Notebook templates menu.
We’re going to create a Quick Note to test out some of the features. Your documents will open in a new tab each time, and you’ll see here that I have other documents I was working in before this. But you can get rid of a tab by selecting it, and tapping the x in the top left of the tab.
The Editor
In the editor you have two main modes which are toggled on and off with the pencil icon in the top right. One is writing mode, which will give you access to the toolbar and one is read-only mode, which makes the toolbar disappear.
If you are working in a document with hyperlinks, you’ll need to use the read-only mode to tap on the hyperlinks. They won’t work in writing mode.
Let’s make sure this is in writing mode and look at the other options in this top menu. On the far left is where you can view the pages of your document in thee different ways, Thumbnails, Favorites, and Outlines.
From the thumbnails view you can drag and drop to reorder pages or tap on the down arrow in the bottom right of the thumbnail to access another menu. Here you can add a page before the one you’ve selected, add one after, duplicate that page, add it the the outline that third view option in this pop-up, export that single page, open it in a new window, or delete it.
There’s also a select menu here that functions like the one in the main screen. That will allow you to copy and paste, rotate, export, or delete multiple pages at the same time. The favorites view is where any pages that you bookmarked will show up. You can bookmark a page by tapping on the little bookmark icon in the thumbnails view. You can also add a page to the favorites from the editor. It’s in the top left and is the same icon as the thumbnails view.
The Outline is where the pages you have added to your outline from that thumbnail view menu will appear. Some of these options are also available form the editor view. You can favorite a page in the top left, it’s the same icon as in the thumbnails view. And if you tap on the three dot menu in the top right, you’ll see an option to Add the page to Outline, copy it, rotate, and delete it, all options you also had in that thumbnails view.
Jumping back to the menu in the top left of the editor we have our magnifying glass to search for any text or handwriting in the document.
And to the right of that favorites option, you’ll see a share icon. From here you can share the link to that document with someone you want to collaborate with, just like in Google Docs. You can also export the single page or whole document, print a single page or whole document, and then you have a few presentation options as well.
In the middle of this top menu, you can rename your document or move it to a different folder.
Some of these options are also available om the main screen. So if you go back to it in the top left and then tap on the down arrow of the folder or document thumbnail, you’ll see you have the option to rename, duplicate, move, open in new window, export, share, or delete.
Continuing with this top menu, these two arrows let you undo and redo actions.
The page with the plus icon lets you add in new pages before or after your current page, or at the end of the whole document. You can add a page just like the one you’re on, basically duplicating it, by choosing current template. And if you scroll, you’ll see some template suggestions, and then the View All Templates at the end and the More from Templates just underneath this section will bring you to the same menu to access all the page templates that you’ve set up.
The other options here are similar to the ones in the New menu from that main screen. You have the option to add an existing image, scan a document directly into the document that you’re in. Take a photo that is added to the document or import pages.
The next icon is the read-only, and writing mode that we went over, and then that three dot menu which has some similar options to the menu in the Thumbnails view. And also mixes in some new options we haven’t seen before, and options from the settings menu we looked at under that gear icon on that main screen. The new options are Chang Template, which allows you to change the paper you’re working on without losing you’re writing.
Then, we have Go to Page. If you want to navigate to a specific page by typing in the page number instead of scrolling in the Thumbnails view. And clear page which will erase anything that you’ve created on the page with the tools in the toolbar like shapes, text, or handwriting.
The option from that gear icon menu are things like scrolling direction, so which way your page scrolls, stylus and palm rejection, and the document editing options to play around with once you’ve gotten comfortable with the app.
At the very bottom of this three dot menu you have experimental features which right now is Study Flashcards, which you can use by adding a flashcard paper template.
The Toolbar
So that’s the main menu here in the Document editor. Let’s move on to the toolbar. The toolbar is broken up into three different sections separated by this thin gray line.
Zoom Tool
The first section only has one item there, and it’s the zoom window. It gives you an option to work zoomed into a document while seeing it zoomed out at the same time. I find this option more confusing to work in, and prefer just to zoom in and pan around the page myself, but you may prefer this way of working in your documents.
The next section in our toolbar is where you’ll find the main tool options. You have the pen, eraser, highlighter, shape tool, lasso, elements tool, images, text, and laser pointer.
Secondary Navigation
Before we look at the menu options for customizing each of those tools, I want to point out the last toolbar section. That section functions more like a secondary navigation menu meaning it changes depending on the tool that is selected.
So if I choose the pen tool, and then switch to the highlighter tool, you’ll see that last section change. Same with the other tools. That section of the toolbar will adjust to show you additional options for customizing which ever tool is selected.
With that in mind, let’s go back and take a look at all the options you have for each tool in both their menu and that secondary navigation on the right.
Pen Tool
The first tool is the Pen tool. And you have three different pen types, the Fountain pen, Ball pen, and Brush pen. You can adjust the pen tip sharpness and pressure sensitivity which are both extremely helpful if you plan to do any lettering in GoodNotes.
And then at the bottom, there are two editing options we’re familiar with, the stylus and palm rejection, and the stylus disconnection option. And then there’s a new one called Draw and Hold. If you tap on that, it lets you toggle on and off a few things. You can choose to have a perfect shape created out of your drawing if you hold your stylus down at the end of drawing. So if I went back and drew a circle and held down at the end of it, it will snap my drawing into a perfect circle. And back in the options you can also choose whether or not it fills in that shape when you draw and hold.
The other option is Snap to Other Shapes, which I would leave on, because it makes it easier to move around and organize shapes.
In the Pen tool secondary navigation, you can have three colors readily available and can change those colors by tapping on it. You can use the presets colors or add your own by tapping edit in the top right and choosing from this set of swatches, using the color wheel, or adding by color HEX code.
The Custom option in the bottom right gives you the same options as the edit mode which can be a little confusing. I played around with both parts of this menu and almost everything is the same. You can create a new color and edit an existing color in both places. The only difference is that you can only delete a color from the Edit menu. So, there’s that. And if you go a little too far with creating colors and just want to reset to the defaults, you can choose Restore color set.
Moving on to pen thickness. Just like colors, you have three readily available and can customize what those thicknesses are. If you changed thickness too much and decide you liked the GoodNotes defaults better than the ones you created, you can always go back to them with the sliders icon in the top left of that pen thickness menu.
Eraser
Moving on to the Eraser tool. When you select it in the secondary navigation, there are only three size options. Tapping on the Erase tool again will bring up its menu of additional settings. Here you can choose erase the entire stroke making it easy to erase large amounts of handwriting.
You can also choose to only erase highlighter marks, erase an entire page with Clear Page, and the last option is auto-deselect which will automatically switch back to a pen or highlighter tool after erasing.
A note about auto-deselect, it can either be a huge time saver or a nuisance, so that’s an option to play around with to see what fits you best.
Highlighter
For the highlighter tool, you’ll see three color options you can set in the secondary navigation. It’s the same setup as the pen tool, and you also have three sizes that you can choose from and customize or reset to default by choosing Restore Stroke.
The highlighter menu only has one additional option which is draw in a straight line, giving you the option to draw and hold, which will straighten itself out if toggled on.
Shape Tool
The shape tool is next and if I’m completely honest, I feel like there are a lot of overlapping, connected settings here with the pen tool which can be confusing.
So in the pen tool, you can toggle on Draw and Hold to create shapes and if you choose the shape tool you just don’t have to hold. When you draw a shape, it will automatically create a perfect shape for you and just like under the Pen tool, you can also set whether or not the shapes are filled, and if they snap to other shapes. If you change one of these settings like Fill from the Shapes tool, you’ll notice it also changes that setting in the Pen tool. So they’re connected and in both places. Maybe that’s to help people find the setting whether they associate it with the Shape tool or with the Pen tool, but I find it more confusing to have the same thing in too many places, which I’m noticing more and more in GoodNotes, but it might just be me.
Lasso Tool
Let’s look at Lasso tool. The Lasso tool allows you to precisely select different elements on the page to move or edit. If you tap on your selection, you’ll see a menu to cut, copy, delete, resize, change the color, and take a screenshot.
The Add Element options, we’ll cover in the next tool. But looking at the Convert option, this is where you can convert any handwriting into text. You can do this by tapping Convert, edit their conversion if it’s incorrect or add to it, tap on the share icon in the top right, and if you want to keep this on the page choose copy, press and hold, and choose paste.
If you only want to Lasso tool to work on certain types of elements like images, handwriting, or text boxes, you can toggle those on or off in the Lasso menu here.
Elements Tool
The Elements tool is up next. This is a tool I’m more excited about than I thought I would be. This tool allows you to save, frequently used objects to easily insert next time. You can save everything from stickers, stamps, and images, to handwriting, like formulas and calligraphy and diagrams, like graphs, shapes, and equations.
Elements are organized into Collections and it comes with some default ones to get you started. Collections are located at the bottom of this pop-up menu. The first one on the left is recents. The plus icon at the end allows you to add a new collection. To edit a collection tap on the name at the top of this menu. Here you can delete any of your elements, change the collection title, in the bottom left you can import new items from your photos and in the bottom right you can import from your files or another location like Google Drive or Dropbox. To delete an entire collection, tap the three dot menu in the top right and Delete Collection.
Back to the Lasso tool, that Add Element option is how you can add anything you’ve selected with the Lasso to one of your collections, so that you can reuse it over and over. This is especially helpful for saving charts, diagrams, or equations that you’ve drawn. The last thing I want to point out about the Elements tool is the icon in the top right of the menu. This opens up the tool in another window. It’s another workflow option for those that prefer to have their elements easily accessible at all times.
Images
Next to the Elements tool is the Images or Picture tool. The secondary navigation for this gives you the option to take a photo which will then be added to that page. You’ll also notice your most recent photos from your photos app available here to tap and drag onto the page.
To quickly add an image from any of your albums or folders on your device just select the tool and tap on the page to bring up that menu. Once you’ve placed an image on a page, you can write on it which can be helpful for customizing digital planners and notebooks.
To edit an image, make sure to have the tool selected or else those options won’t show up. Editing options include moving, resizing, and cropping. You can also save an image with the Share option and add it to one of your Element Collections.
Text Tool & Laser Pointer
To add a text box to your document, select our next tool, the text tool. Then, tap on the document and start typing. In the text tool secondary navigation, you can customize the font, text size, paragraph style, and text box style. If you find a combination of settings that you want to use over and over again, the last icon here allows you to save those as a Text Style.
All right, our very last tool is the laser pointer which functions in a similar way to a physical laser pointer. But it has two options which you can see in the secondary navigation. The first is a dot and that will only appear with your stylus or finger and will disappear whenever you lift them. The other option lets you draw with a laser pointer, and will also disappear a little bit after you lift your stylus.
If you made it all the way to the end, thank you so much for watching. And if this thorough guide was helpful, make sure to like this video, and hopefully, I’ll see you in the next one.
Other posts:
Featured
I’ve used both ClickUp and Asana extensively in my business and ended up sticking with ClickUp but that might not be what’s best for YOUR small business. In this video, you’ll learn about their notable features, pricing, why I ultimately chose ClickUp, and what would make me go back to Asana.
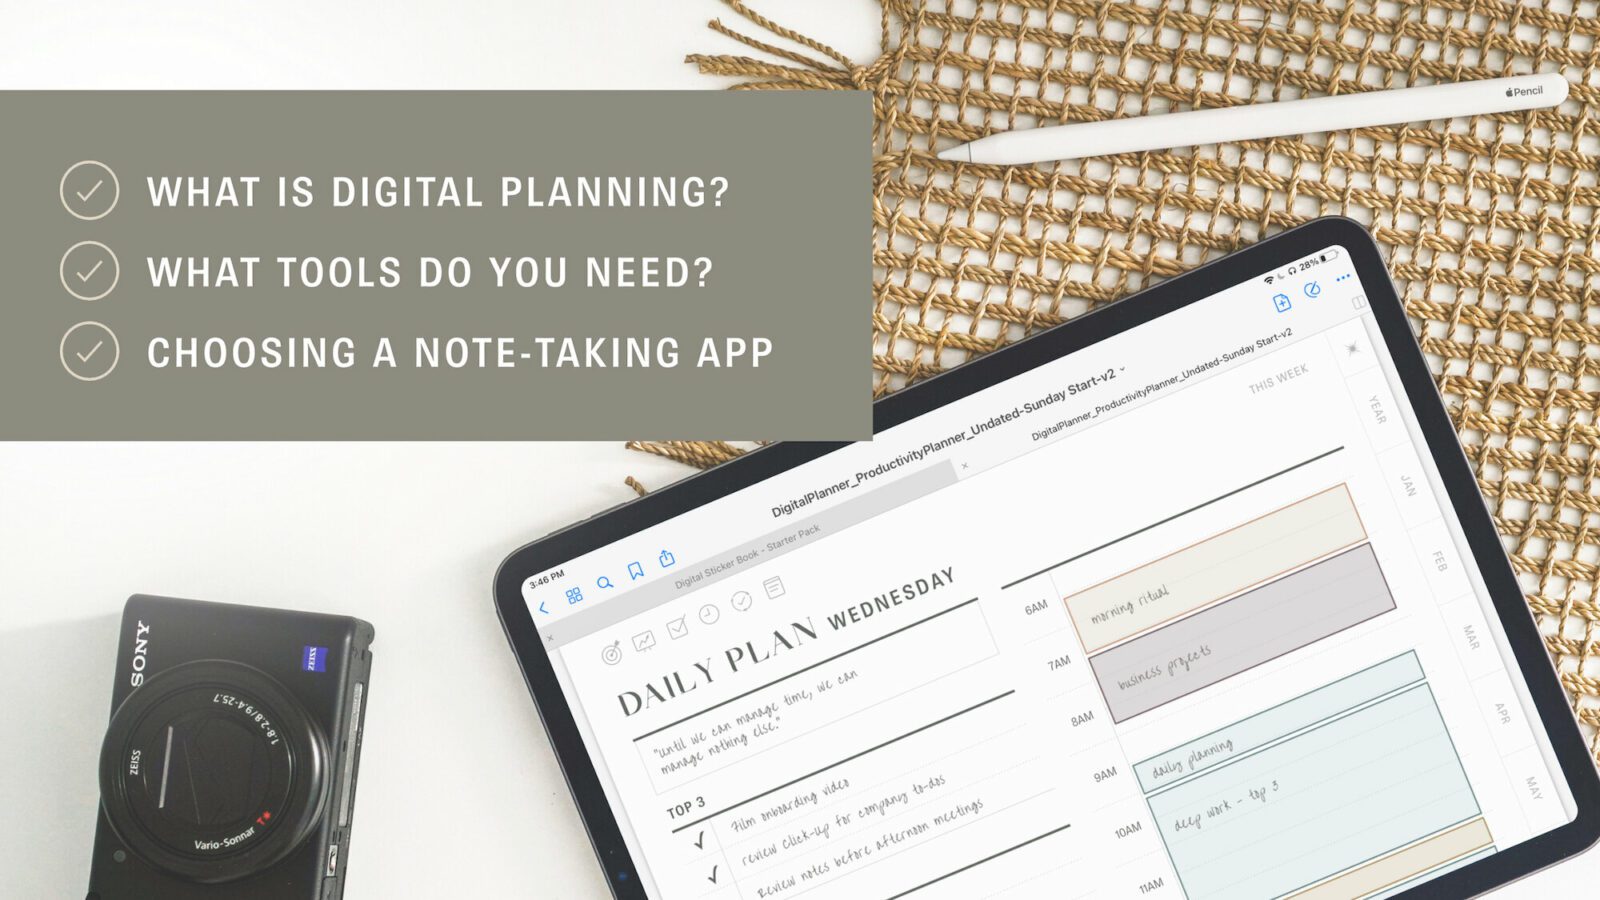
Learn what digital planning is, what tools you will need, and things to keep in mind when choosing a note-taking app.
It can be overwhelming to look at a long list of to-dos. Throughout the day that list only seems to get longer. This is a seemingly never-ending battle and can make it seem like your list is controlling you. Having an organized to-do list that fits your workflow can help you take back that control.
In our daily attempts (and in many cases, struggles!) to achieve our goals, many of us tend to put our definition of habit and routine into one murky pot. We fail to differentiate between the two, and this often leads us down the wrong path.
